.png)

Hi, I’m Gunshe – the guy who makes photography simple, exciting, and totally jargon-free ! Whether you're a seasoned pro or just star...

Ganshyam Ramchandanni - The complete photographer
Hi, I’m Gunshe – the guy who makes photography simple, exciting, and totally jargon-free ! Whether you're a seasoned pro or just star...

Professional-looking corporate portraits like the one above are no longer the domain of high-end studios alone. With a bit of smart setup,...

### 📸 How You Can Also Create This With Minimal Gear This stunning portrait, with rich textures and colors, proves that you don’t need an e...

**Photo Credit: Ali Pazani** *Blog by FotoCafe Studios – Inspiring the Next-Gen Creators* --- There’s something effortlessly cinematic abo...

What started with a simple frame… …became a story seen by 4 million eyes around the world. This image of linemen working against a golde...

This image was shot way back in 2012 for Tata Infrastructure at the Bhusawal Thermal Power Plant, using my Canon 5D Mark III — but here’s t...

How I Captured This Stunning Portrait With No Fancy Camera – And How You Can Too! How I Captured This Stunning Port...

There’s a certain magic to a beach photo that captures pure freedom—a joyful leap against the backdrop of the endless sea and sky. This pho...

Violet Vibes & Golden Hours Violet Vibes & Golden Hours Captured during what photographers call the "g...

Pure, Soft, and Glowing – A Beginner’s Guide to Natural Light Portraits Pure, Soft, and Glowing – A Beginner’s Guide to N...
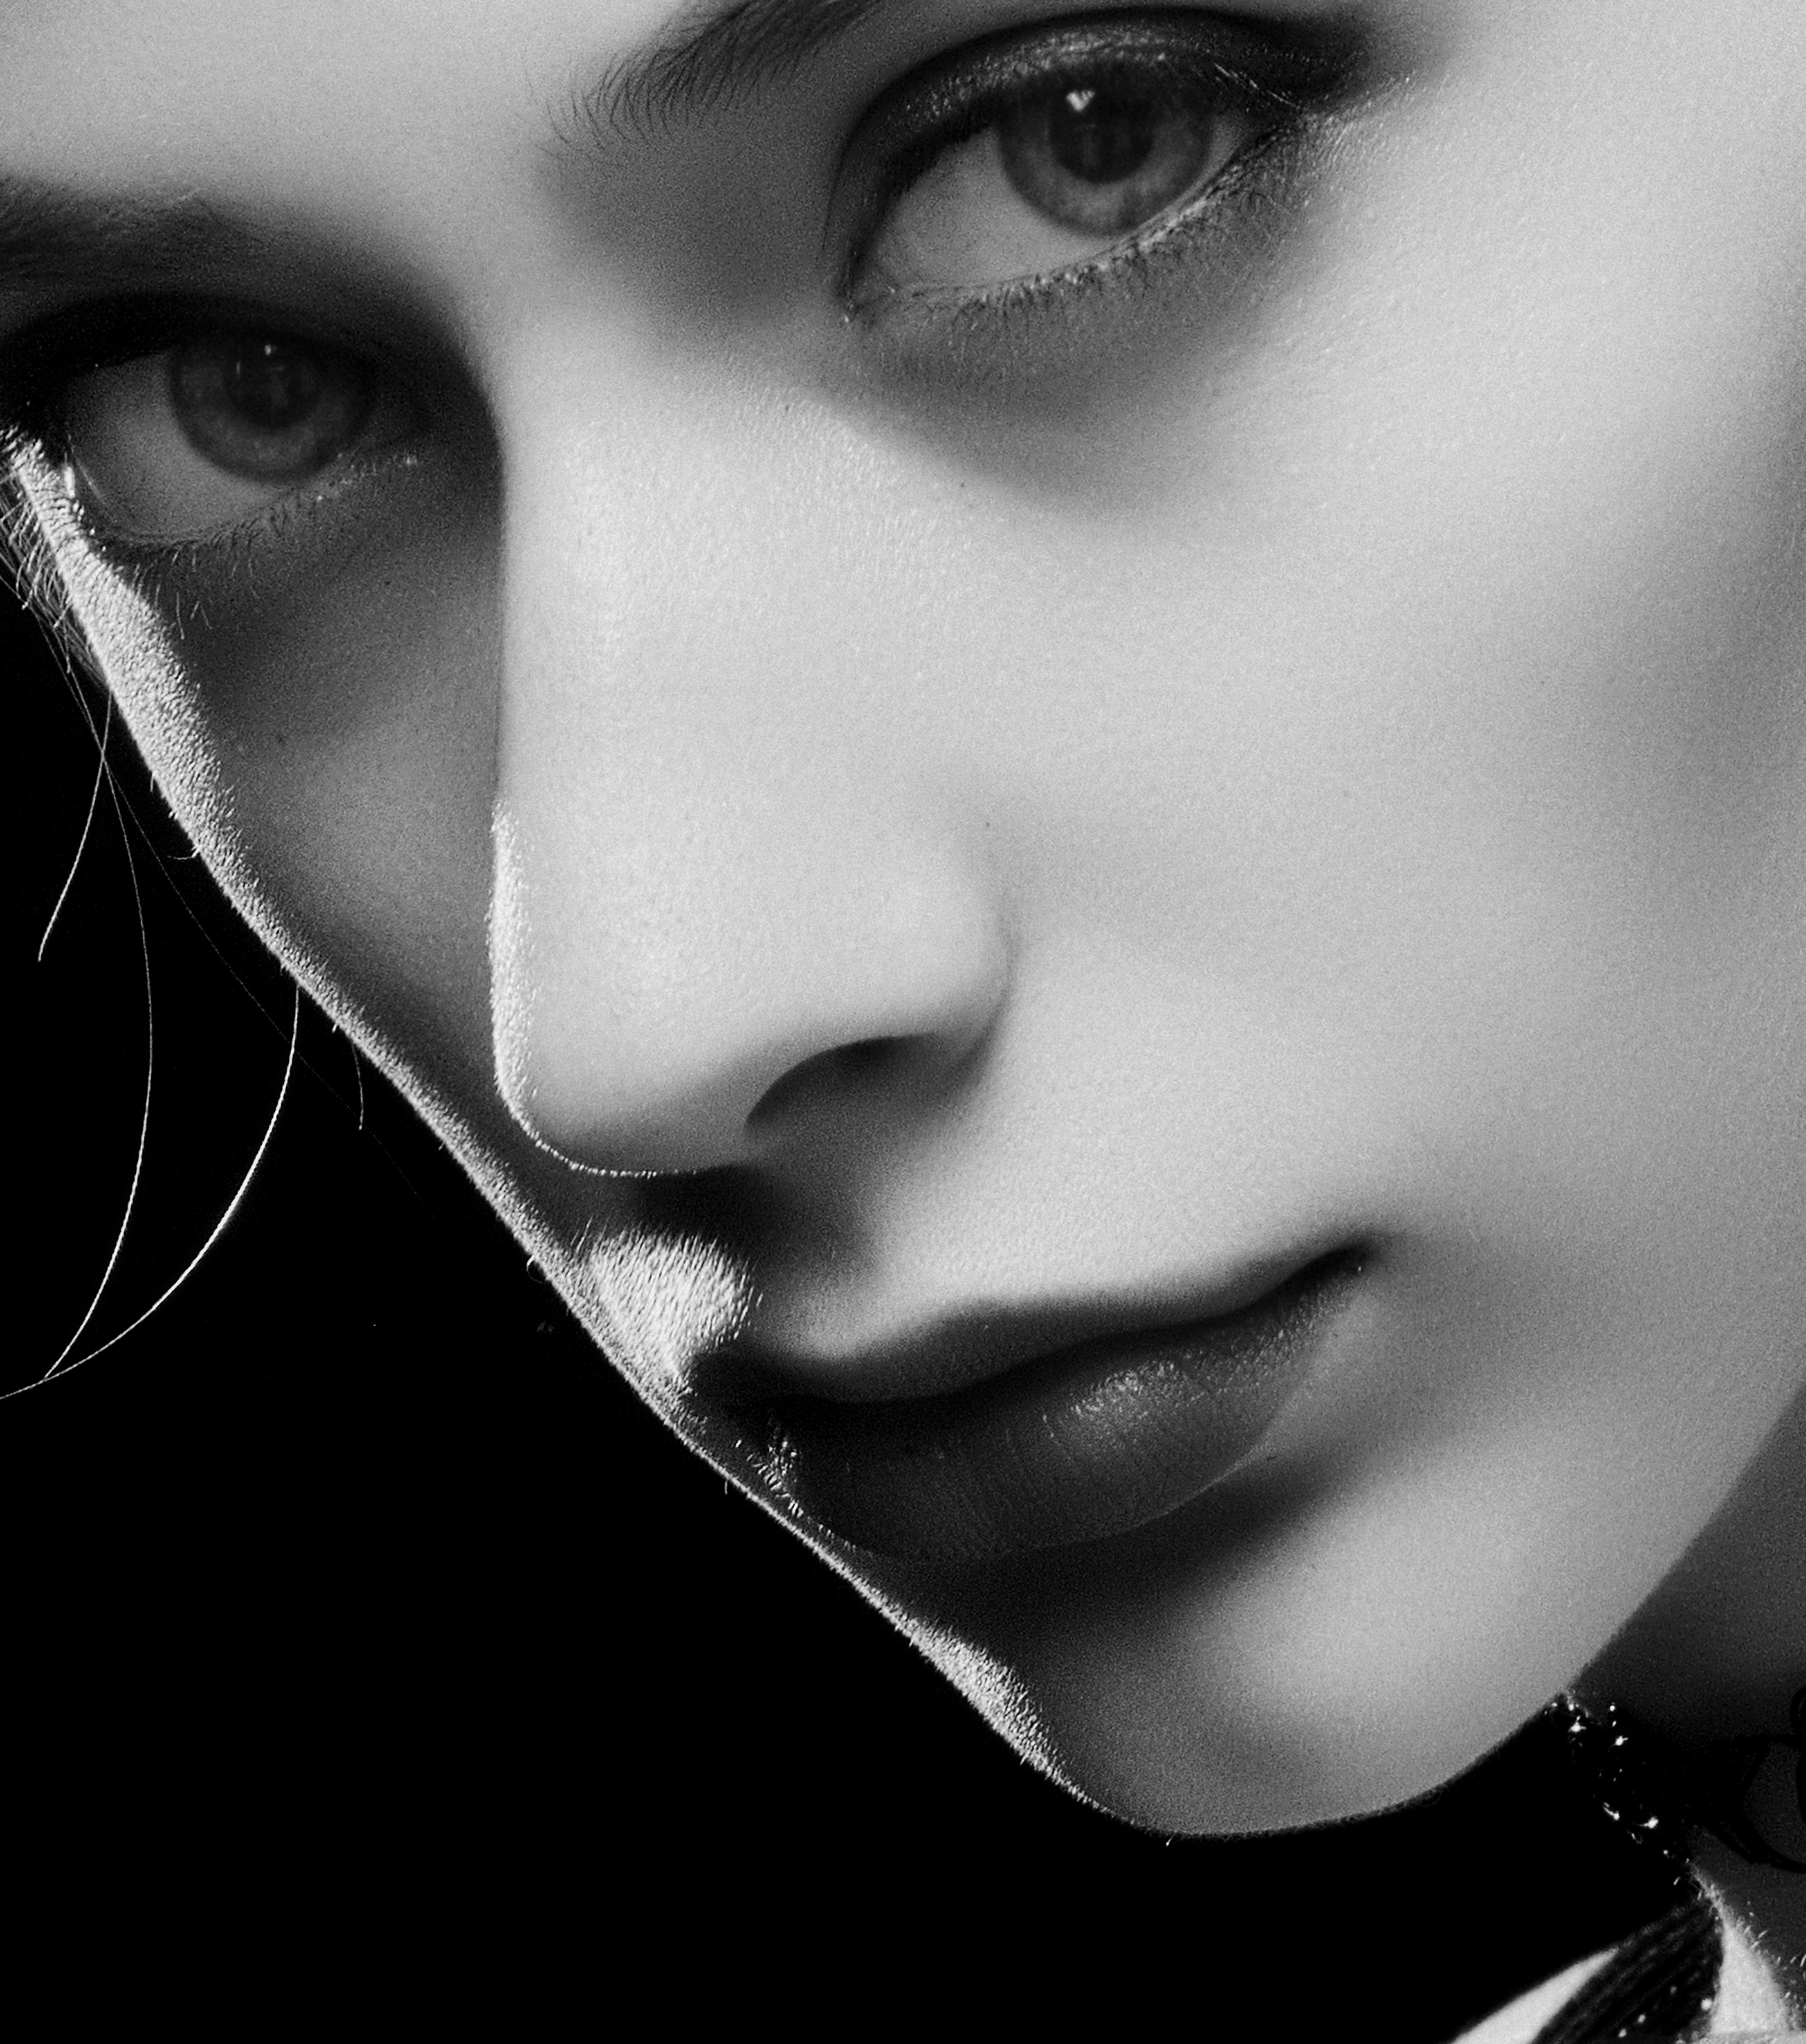
Dramatic Beauty – A Close-Up Portrait Study in Light & Shadow 📸 Photo Credit: Alexander Krivitskiy (Used for educational purposes...

“Sometimes, you don’t just take a photograph. You walk into one.” That’s exactly what happened on a cool misty morning in the mid-1980s, in...

Red, Bold, and Beautiful – Portrait Simplicity at its Best 📸 Photo by Ali Pazani | Minimal gear. Maximum impact. This stunning portrait b...

Dreamy Portrait in Bloom – Easy Setup for Amateurs Dreamy Portrait in Bloom – An Amateur's Guide to Stunning Out...

Gothic Portrait Lighting with Minimal Gear Gothic Portrait Lighting on a Budget: A Simple Setup Guide Pho...

The Art of Soft Elegance: Achieving Dreamy Bridal Portraits on a Budget Published by Fotocafestudios | Tips for Amateur & Budget Phot...

This vibrant shot radiates pure joy, with the model’s wide smile and sparkling energy stealing the show. Here’s how to capture such genuine ...


.png)